Instructions for using
the hiking route planner
Hiking in Limburg
Do you need help with creating your own hiking route? In four steps you will discover how to use the hiking route planner. Are you ready to map out your own route? Click here for the hiking route planner for North and Central Limburg.
1. Choose your starting point
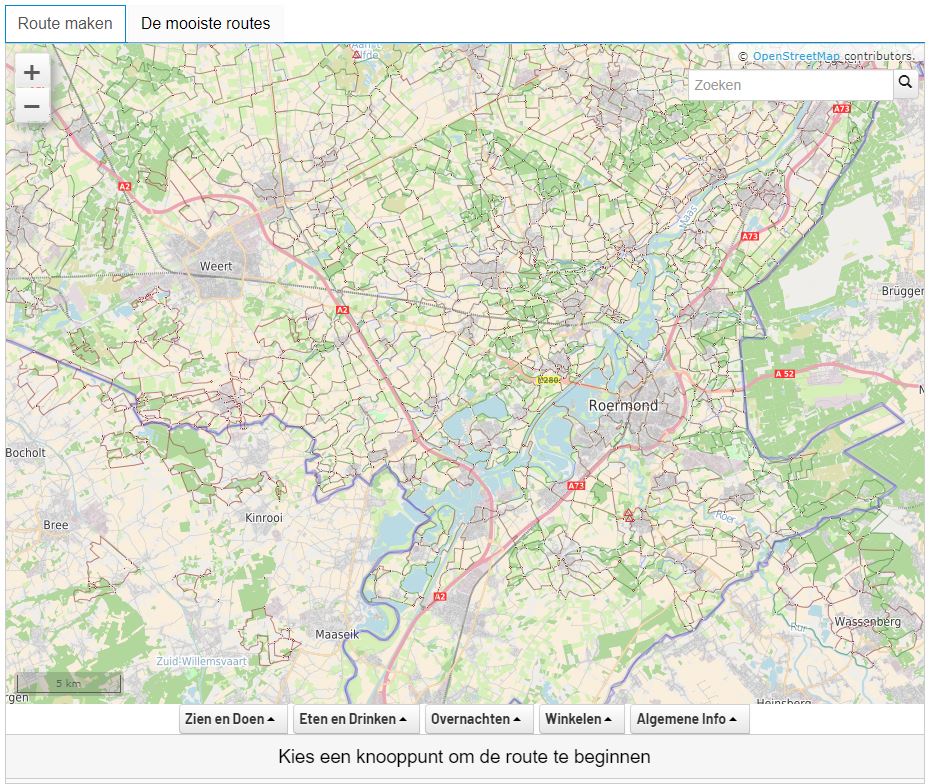
From the menu Create Route you can zoom in until you see the numbers of the nodes. First click on the number of the intersection where you want to start.
2. Choose which sights or terraces to walk past
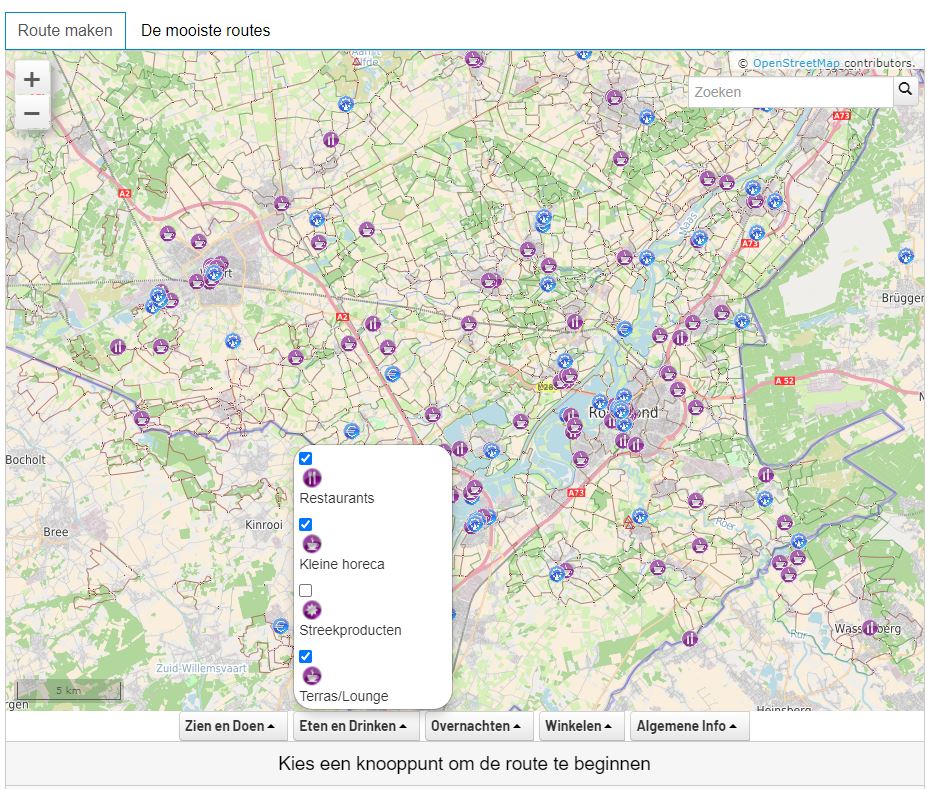
Are there specific places you would like to hike past, such as places of interest or outdoor cafés? Then you can add them to your route by ticking them off at the bottom of the route planner. This way you can plan ahead where and when you can take a break, at the most beautiful places.
3. Connecting Intersections
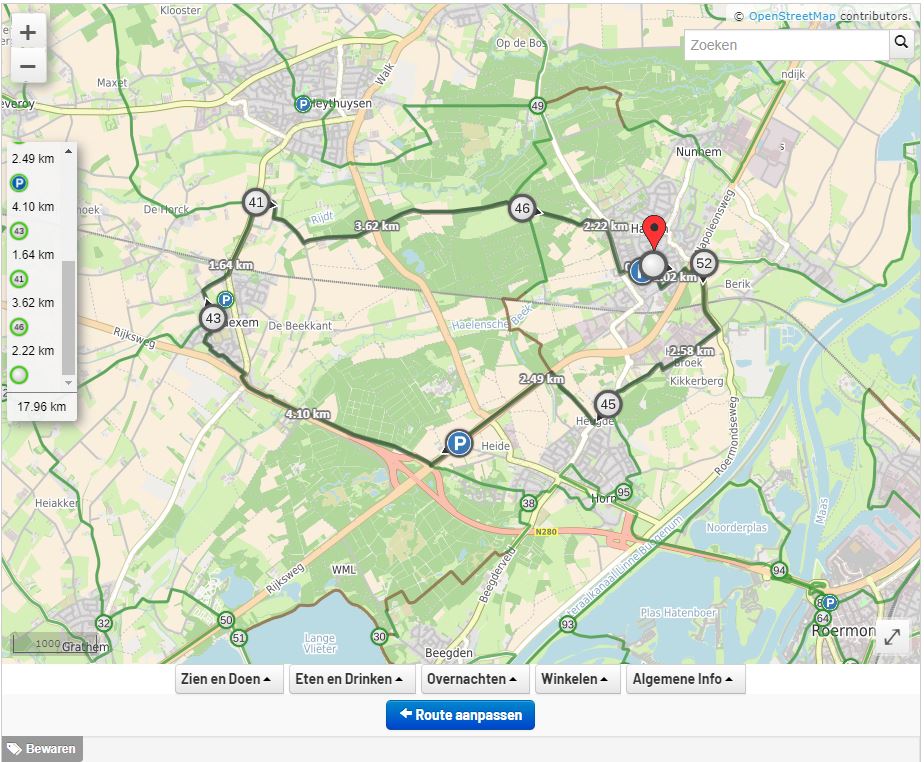
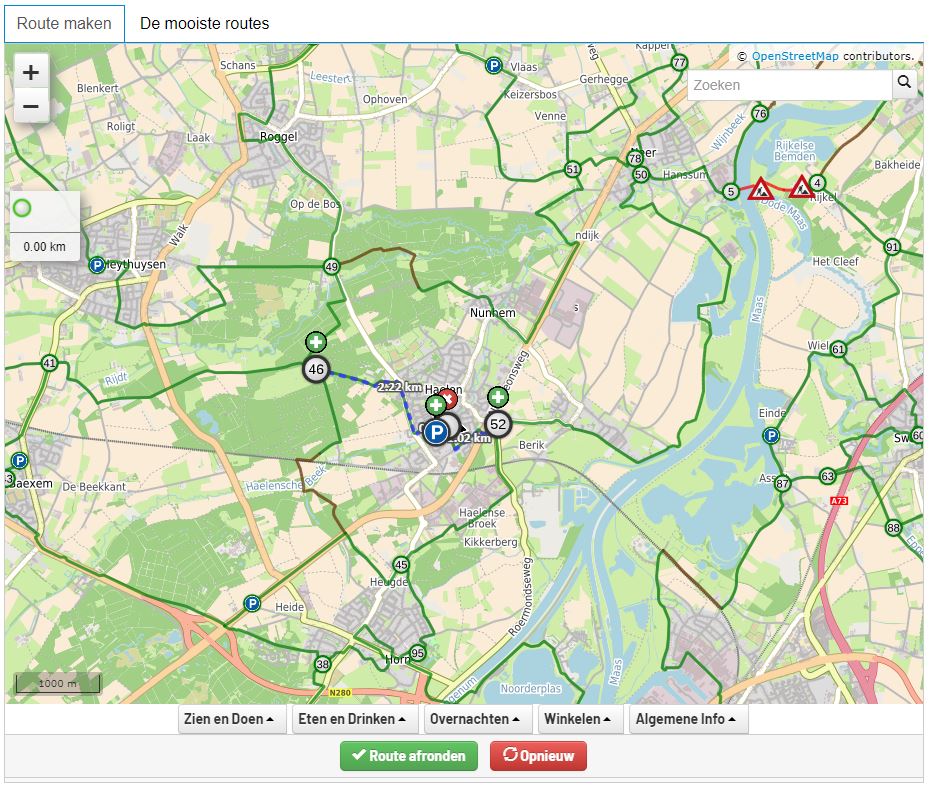
From your chosen starting point you can now create your own route. This is easily done by clicking on the plus signs next to the junction numbers. You will immediately see the distances between the junctions. When putting together your route, please note that the network of junctions consists of both paved and unpaved paths. The green lines are unpaved paths, the brown lines are paved paths.
4. Save your route
Is your ideal route complete? Then click on Complete route at the bottom of the route planner. Now you see your complete route. You can now download or print the route. You can also choose to receive the route in the mail, so that you can hike it later (note that it may end up in your spam filter).